This was my first time making umeboshi. I was excited to try pickling them!
Hello. This year, I tried making umeboshi (pickled plums) for the first time in my life. At first, I was worried that it would be difficult and that they would go moldy, but when I actually tried it, I found it to be surprisingly simple! I was excited to watch the plums slowly and steadily change.
In this article, I will introduce how to make umeboshi, a method I actually tried as a beginner, for those who would like to try making them!
Materials and tools (what I used)
・Ripe plums (Nanko plums)...2kg
・Coarse salt (15% salt)...300g
・Food-grade alcohol preparation (for disinfection)...appropriate amount
・Storage container (glass bottle)
・Red shiso...added later
・Pickling weight (2kg, same as for plums)
*Instead of white liquor, we disinfected the containers and plums using an alcohol product that can be used on food.
The process of making umeboshi (in my case)
1. Preparing the plums
I gently washed the fully ripe plums in water, removed the stems, and carefully and thoroughly wiped off the moisture. *For fully ripe plums, there is no need to soak them in water to remove the bitterness. I handled them gently and was careful not to leave any moisture behind, as scratches can cause mold.

2. Disinfection and salting
The storage container, weight, and plums were all thoroughly disinfected with an alcohol-based product. The plums and salt (15% salt in this case) were layered alternately, salt was sprinkled on the surface, and a weight was placed on top. Using a weight the same weight as the plums (2 kg), I waited for the plum vinegar to rise.

*15% salt is slightly less than traditional umeboshi, but it still ends up being quite salty. However, it also has a long shelf life and is less likely to get moldy, so it's a safe amount of salt that even beginners can easily make without any problems.
3. Add red shiso
Once the plum vinegar rises, add the red shiso leaves that have been rubbed with salt to remove any bitterness. At this stage, make sure to thoroughly disinfect the red shiso leaves and any equipment that will come into contact with your hands.
Depending on the season, red shiso may not be available in stores, so be sure to start making umeboshi early so you don't miss the chance. By the way, I grew red shiso from seeds! You can also make white umeboshi without red shiso, but adding red shiso improves the flavor significantly.

How to dry in the doyo period (the way I was taught)
This time, I dried them using a method taught to me by a plum-growing expert from Wakayama Prefecture!
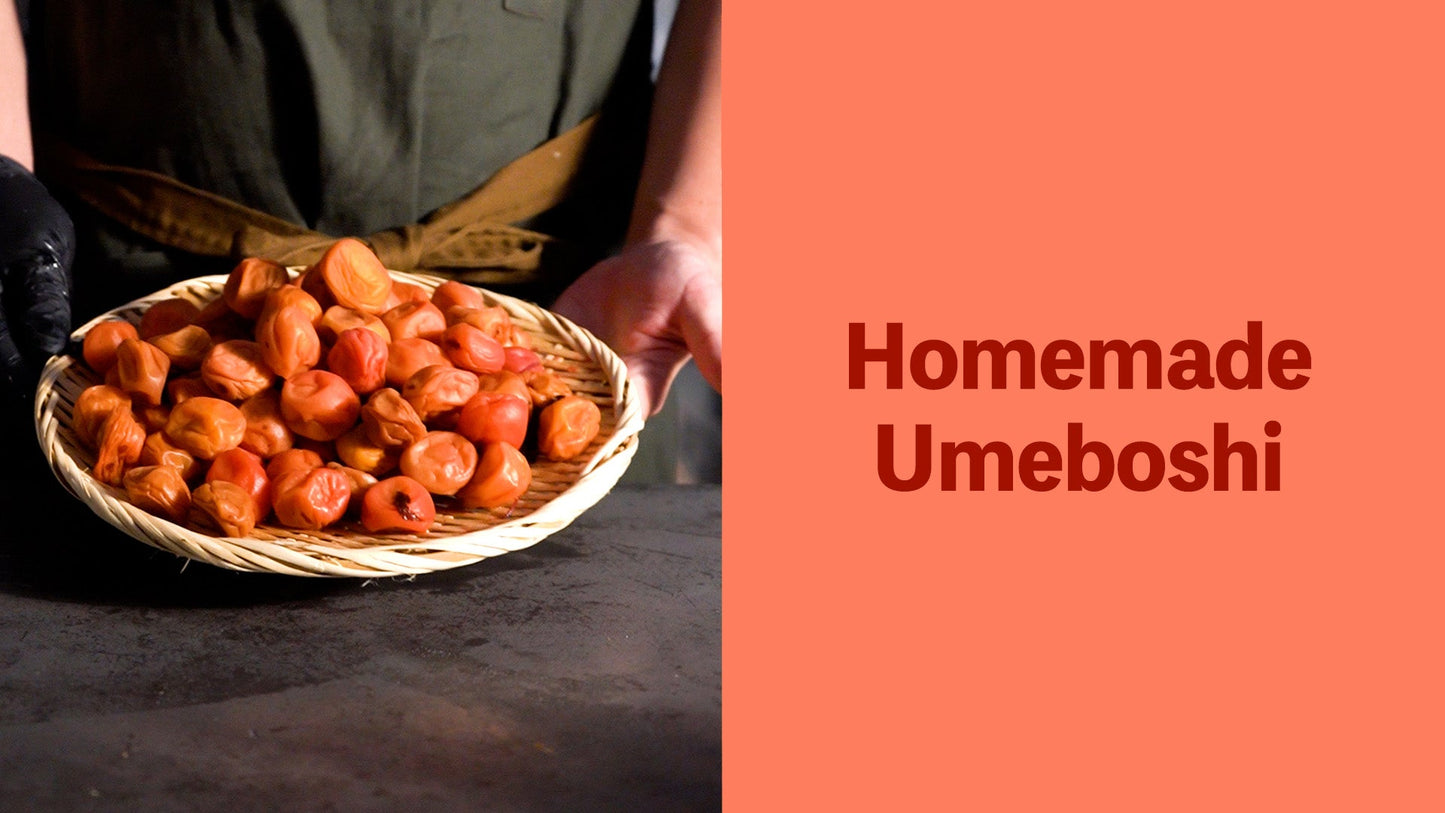
▼ Daytime drying for 4 days
The plums are placed on a colander or wire rack and dried in the sun from morning until evening.
Take it out every evening, put it back in the jar with the red shiso leaves, and let it soak again.
Repeat this for four days.
▼ The key is to dry it overnight on the 5th day!
On the fifth day, leave the plums that were dried in the morning outside at night to expose them to the night dew.
This "night drying" process is said to make the plums plump and soft.
I was surprised when I first learned that the ingredients were left to soak in the night dew, but I realized that this careful effort is the secret to their deliciousness.

Even beginners can do it! Things to notice and points to note
・The biggest enemy is mold! But as long as you disinfect properly, it's surprisingly not a problem.
- 15% salt is a little low, but once the plum vinegar rises well, it's less likely to get moldy.
- The effort of drying the plums is fun, and you'll start to enjoy making them more and more!
Living with umeboshi is great
I'm looking forward to using the finished umeboshi in rice balls or chilled tea rice! The flavor is even better when you know you made them yourself.
Next year I would like to try making them with less salt or pickled in honey.
summary
I thought making umeboshi would be difficult, but when I tried it, I found it to be a very deep and fun experience. I hope this article will be helpful for those who want to try making umeboshi in the future!